No one plans to spend an unplanned night in the wilderness. Yet injuries happen, the weather turns brutal without warning, and trails that seemed obvious in daylight become confusing mazes after dark.
Even experienced hikers face situations where building an emergency shelter becomes the difference between a scary night and a life-threatening one. The good news? You probably already carry everything needed to create a shelter that keeps you safe and protected until help arrives or morning breaks.
Understanding how to build an emergency shelter transforms your hiking pack from a simple gear hauler into a genuine survival toolkit. That tarp you brought for ground cover, the emergency blanket stuffed in a side pocket, and even your rain jacket can become critical shelter components when conditions deteriorate.
No need to panic when things go sideways. With a little creativity and the gear you're already carrying, you can build a hiking emergency shelter that protects against wind, rain, and dangerous temperature drops.
Why Shelter Knowledge Saves Lives on the Trail
According to the U.S. Forest Service, hypothermia can occur even at temperatures above 40 degrees Fahrenheit when hikers become wet from rain, sweat, or water exposure. That seemingly mild spring day can turn dangerous fast if you get caught in a rainstorm without proper protection. Building an emergency shelter stops this progression before it becomes critical.
When You'll Need an Emergency Shelter for Hiking
Sudden weather changes top the list of situations requiring emergency shelter construction. Clear morning skies give way to afternoon thunderstorms in the mountains. Temperature drops follow sunset, especially at elevation. Injuries can immobilize you miles from the trailhead, making shelter essential while waiting for rescue. Getting lost or underestimating trail difficulty means spending a night out when you only packed for a day hike.
How Shelter Protects Your Body
Hypothermia develops when your body loses heat faster than it produces it. Wind strips away warmth. Wet clothing accelerates heat loss dramatically. An emergency shelter for hiking blocks wind, keeps precipitation off your body, and traps the heat you're generating. Research published in the Journal of Applied Physiology found that wet clothing can increase heat loss by five times compared to dry conditions. Even a basic shelter that gets you out of wind and rain makes survival significantly more likely.
What to Carry for Building Emergency Shelters
Smart hikers pack lightweight items that serve multiple purposes, including emergency shelter construction. These essentials take up minimal pack space but deliver maximum survival value.
The Core Shelter-Building Kit
Every hiking pack should include these items for building an emergency shelter when conditions turn dangerous:
- Paracord or cordage (at least 50 feet): Secures tarps, creates ridgelines, and ties branches together for frame construction
- Space blanket or emergency bivvy: Weighs almost nothing but reflects body heat and blocks wind effectively
- Lightweight tarp: Provides waterproof covering and multiple shelter configuration options
- Good knife or multi-tool: Cuts cordage, sharpens stakes, and processes natural materials for insulation
- Emergency whistle: Signals for help while you wait in your shelter
- Headlamp or flashlight: Essential for setting up shelter after dark
The 5 C's of Survival
Survival experts emphasize carrying five critical categories when hiking:
- Cutting tools: Knife or multi-tool for processing materials
- Combustion devices: Lighter or waterproof matches for warmth and signaling
- Cover: Tarp, emergency blanket, or poncho for shelter construction
- Container: For collecting and storing water
- Cordage: Paracord, rope, or strong line for securing shelter components
These items enable you to build an emergency shelter, start a fire for warmth, and stay hydrated while waiting for rescue or daylight.
Step-by-Step Emergency Shelter Construction
Different gear options require different approaches. Master these basic techniques and adapt them to whatever materials you're carrying.
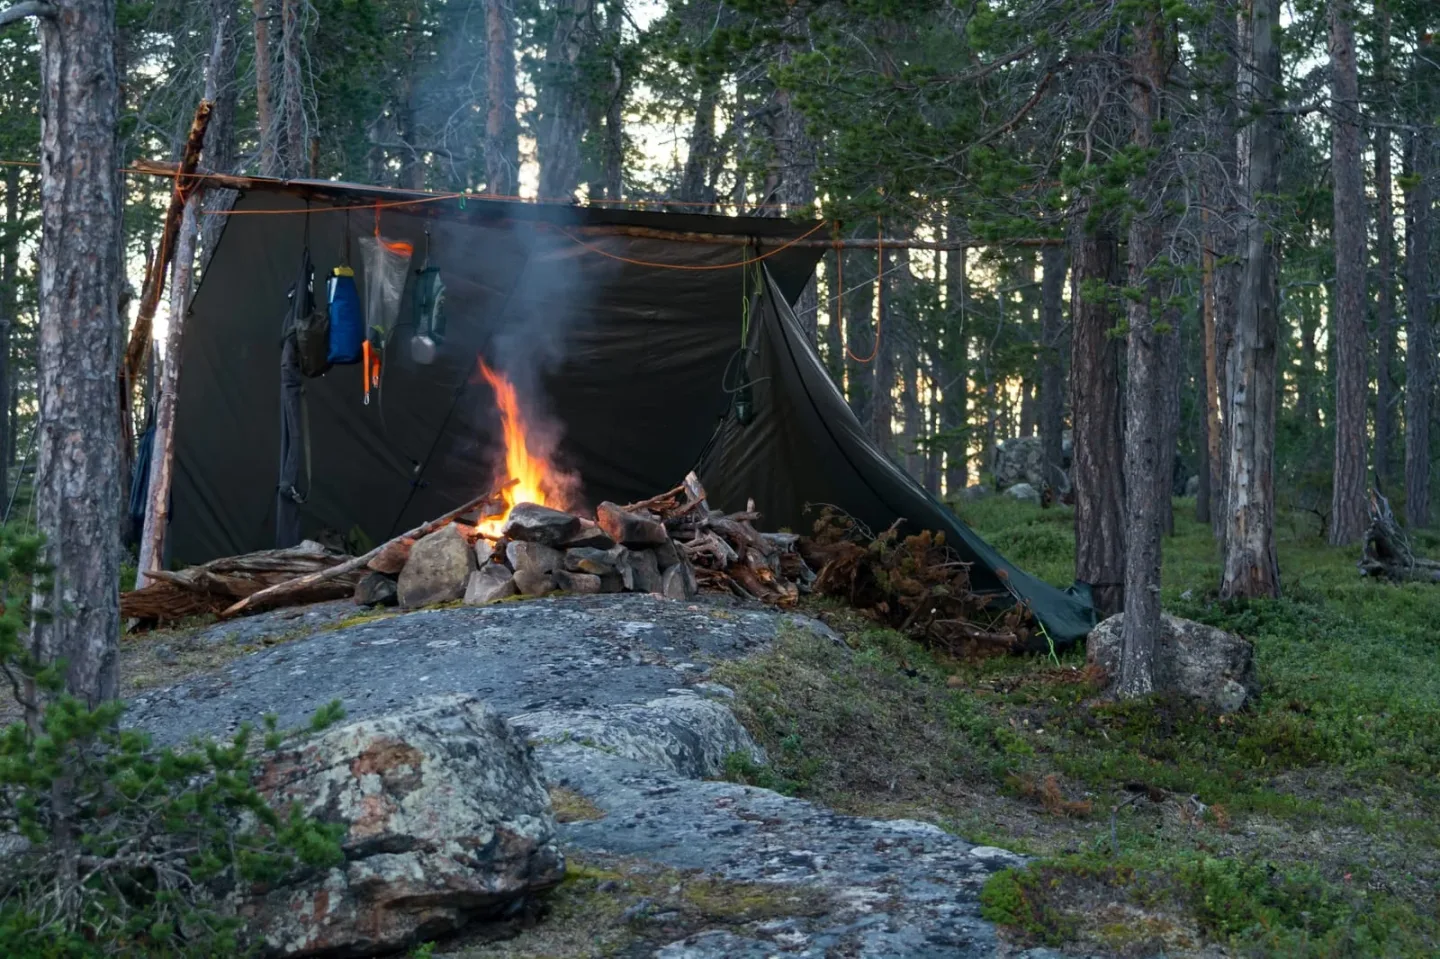
Building with a Tarp or Emergency Blanket
Tarps offer the most versatile shelter option, and many hikers already carry them. The simplest configuration creates an angled roof that sheds rain while blocking wind.
Basic tarp shelter setup: Find two trees or sturdy supports roughly 8-10 feet apart. String paracord between them at about waist height, creating a ridgeline. Drape the tarp over this line so one side reaches the ground and the other angles upward. Stake down the ground-level side using rocks, sticks, or dedicated tent stakes if you have them. Pull the opposite side taut and secure it to create a slanted roof. Crawl inside, and you've got protection from rain and wind.
Emergency blanket techniques: Space blankets tear easily, so handle them carefully. The reflective side should face inward to bounce your body heat back toward you. Create a simple lean-to by securing one edge to a low branch or ridgeline, then weighing down the bottom edge with rocks or logs. The metallic surface blocks wind better than you'd expect, and the reflective properties genuinely help retain warmth.
For maximum insulation, combine materials. Use the tarp as your waterproof outer layer and wrap yourself in the emergency blanket inside the shelter. This layering approach creates an effective hiking emergency shelter even in cold, wet conditions.
Using Rain Gear as Shelter
Your poncho or rain jacket can transform into an emergency shelter when you need it. This technique works best for quick protection while you wait out a storm or rest after an injury.
Poncho lean-to construction: Most ponchos have grommets or corner reinforcements. Thread paracord through these attachment points. Tie one edge to a tree trunk or large rock at about shoulder height. Pull the opposite edge down and secure it to the ground, creating a wedge-shaped shelter. Use your hiking poles or sturdy sticks to prop up the middle if needed for more headroom.
The benefits of rain gear shelters include speed and simplicity. You can set one up in minutes without specialized knowledge. The waterproof material that keeps you dry while hiking performs the same job when configured as a shelter.
Natural Materials Add Insulation
If you're carrying minimal gear or need to supplement what you have, the forest provides additional building materials. This is where knowing how to build an emergency shelter with found materials becomes valuable.
Gathering and using natural insulation: Collect dry leaves, pine needles, or grass to create insulating layers. Pile these materials against the windward side of your shelter to block drafts. Create a thick bed of dry vegetation to lie on because cold ground saps body heat faster than cold air. Look for dead branches that can reinforce your shelter frame or create a windbreak.
Avoid green or living branches when possible. Dead wood is easier to break and shape. Pine boughs make excellent bedding and add pleasant insulation. In snow conditions, pile snow around your shelter's base to block wind, leaving ventilation gaps to prevent carbon dioxide buildup if you're running a stove inside.
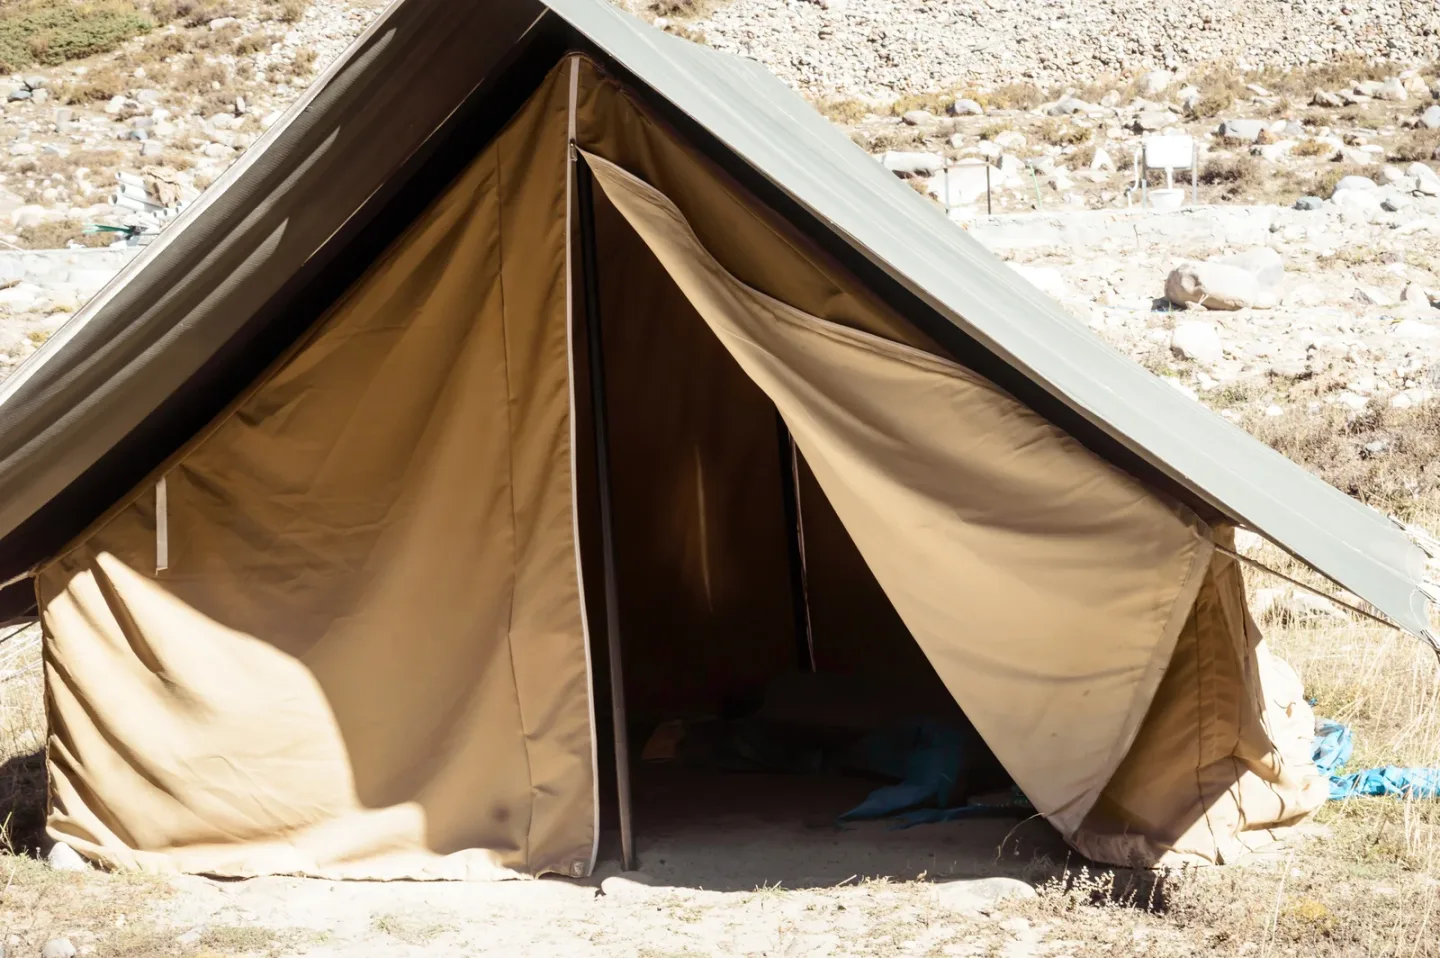
The A-Frame Emergency Shelter
The A-frame design offers excellent stability and weather protection. This configuration works whether you're building an emergency shelter with a tarp or using natural materials.
Frame construction basics: Use your trekking poles as the main supports if you have them. Plant them in the ground at an angle, creating an inverted V when viewed from the side. If poles are unavailable, find sturdy sticks roughly 4-6 feet long. Lash them together at the top using paracord, creating the same A-frame shape.
Create a ridgeline by running a cord from the peak of your A-frame to a tree or anchored stake several feet away. This ridgeline supports your covering material. Drape your tarp or poncho over the ridgeline, letting it hang down both sides like a tent. Secure the edges with rocks or stakes. The result looks like a classic camping tent and provides good protection from rain and wind.
Covering and securing: Pull the tarp tight to prevent sagging where water can pool. Create drainage by angling the shelter slightly. If using natural materials to cover the frame, layer branches first for structure, then pile on leaves, grass, or pine needles for insulation and waterproofing. Thicker is better with natural materials because they compress and settle over time.
Key Shelter-Building Principles to Remember
Whether you're constructing a simple lean-to or a full A-frame, these fundamental principles apply to any emergency shelter for hiking:
- Location matters: Choose a ground that drains well and avoid low spots where cold air settles. Stay away from dead trees that could fall in the wind.
- Insulation from below: Cold ground steals body heat faster than cold air. Create a thick barrier between you and the earth using pine boughs, leaves, or your backpack.
- Multiple layers work better: Combine your tarp with an emergency blanket, or natural materials with manufactured gear for superior protection.
- Ventilation prevents problems: Leave gaps for airflow, especially if using a fire or stove inside your shelter. Carbon monoxide buildup can be deadly.
- Secure everything well: Wind can destroy a poorly anchored shelter. Use solid knots and multiple anchor points.
- Make it visible: If you're waiting for rescue, add bright-colored gear to your shelter's exterior so searchers can spot it easily.
Practice Makes Perfect in Shelter Building
Reading about building emergency shelters helps, but hands-on practice cements the skills. Set up different shelter configurations in your backyard or on a day hike when the weather is good and the stakes are low. Time yourself to see how quickly you can get protection overhead. Try various cordage knots to learn which hold best under tension.
Test your shelters in light rain if possible. You'll discover weak points where water leaks through or wind catches the material. These lessons learned in comfortable conditions become automatic responses when you actually need an emergency shelter for hiking in difficult situations.
Regularly inspect the emergency gear in your pack. Replace worn paracord. Check that your space blanket hasn't torn. Ensure your knife stays sharp. A hiking emergency shelter only works if the components are functional when a crisis hits.
Turn Your Pack Into a Survival System
The ability to quickly build an emergency shelter ranks among the most valuable hiking skills, right alongside navigation and first aid. Unexpected situations happen to everyone eventually, regardless of experience or preparation. Weather forecasts miss storms. Trail maps contain errors. Ankles twist on loose rocks miles from help.
Carrying the right gear matters, but knowing how to use that gear in building an emergency shelter makes the real difference. Practice the techniques described here until they become second nature. Study different shelter configurations and understand which works best in specific conditions. Keep your emergency kit updated and accessible in your pack.
The confidence that comes from knowing you can build effective protection from whatever your pack contains changes how you approach the backcountry. Fear of the unexpected decreases when you understand how to build an emergency shelter that actually works. That confidence allows you to enjoy hiking more fully while staying genuinely prepared for when things go wrong.